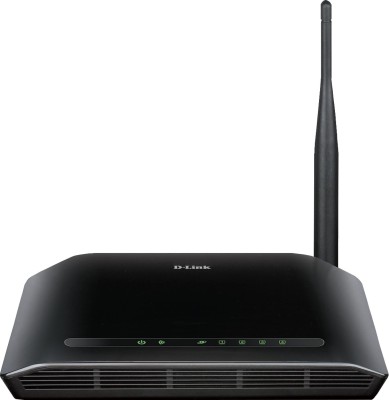
How to Configure D-Link 150 Mbps Wireless Router DIR 600M

D-Link 150 Mbps Wireless Router DIR 600M Features:
- 4 LAN Port
- NAT Firewall
- 150 Mbps Wireless Speed
- 1 WAN Port
- 1 External Antenna
- WPA/WPA2 Encryption
D-Link 150 Mbps Wireless Router DIR 600M SECURITY:
Firewall - Network Address Translation (NAT)
Encryption - WPA2 (Wi-Fi Protected Access), WPA
Other Security Features - Wi-Fi Protected Setup (WPS)
D-Link 150 Mbps Wireless Router DIR 600M SPEED:
Wireless Speed - 150 Mbps
LAN/WAN - 01-10-2000
Type: Wireless without modem
Interface: Four 10/100 LAN ports and one 10/100 WAN port
Data Transfer Speed: 150 Mbps
Supported Operating Systems: Windows XP and above, Mac OS X v10.4 or higher
Security: WEP 64 bit/128 bit encryption, WPA, WPA2, WPS, Firewall
 Description: Almost each and every one of you is familiar with the name of the device called router, the use of which, was necessitated by the advent of electronic gadgets like computers and laptops. You have used this gadget earlier at your home and your workplace as well. But in both the cases you are not completely satisfied with the services of the router and you have to endure a lot of trouble as a result of interrupted service. If you truly wish to enjoy a consistent and trouble free internet connection for a long period of time, then bring home the Dlink Dir-600M Wireless Router, a widely used and highly acclaimed electronic device from the distinguished brand, Dlink.
Speed- 150mbps
Weight- 522 grams
4 Lan Port
Tith a product dimension of 27.4 x 20.8 x 6.8 cm, the Dlink router that weighs 522 grams, comes with a host of other attractive features. The device has 1 Wan Port, 4 Lan Port and a speed capacity of 150mbps. Whenever you buy or plan to welcome an extremely essential electronic gadget like a router, it is always better to stick to eminent brands like D-Link because they only know how to fulfil your needs and requirements. D-link, the leading networking company, has been consistently designing, developing and manufacturing networking solutions with absolute perfection, since March 1986. Therefore, if you too wish to remain connected to the rest of the world, without any trouble, then simply rely on D-Link.